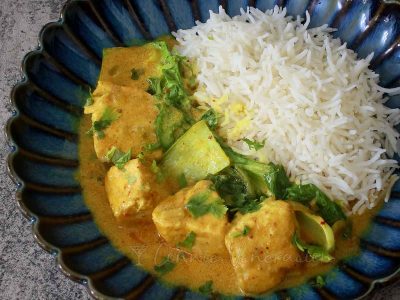
Crispy fried shallot is bawang goreng in Indonesia. But it isn’t just in Indonesia where you’ll find it over rice, soup, noodles, congee, meat and seafood. The same garnish is found in Malaysian and Thai cooking too.
Crispy fried garlic, on the other hand, is even more popular in Southeast Asia. It is an important garnish in Thailand, Vietnam, Indonesia, Malaysia and the Philippines.
The thing about living in Asia is that we can buy both crispy fried shallots and garlic in most supermarkets at inexpensive prices. Today, at least, that is the situation because most Southeast Asian countries now make and export the condiments.
Back in 2012, only Malaysian bawang goreng was available in the Philippines and very few supermarkets sold it. Fried garlic was a little easier to source. As Asian cuisines rose to international fame (Thai and Vietnamese cuisines, especially), condiments became popular exports.
If, however, you are not based in Asia, these two condiments may not be as easy to find. The good news is that, if they are unavailable in your neighborhood, you make both at home. All you need is a sharp knife, a thick-bottomed frying pan, cooking oil and, of course, shallots and garlic.
Crispy fried shallots
Shallots, not regular onion. And especially not large onions which are often too bland.
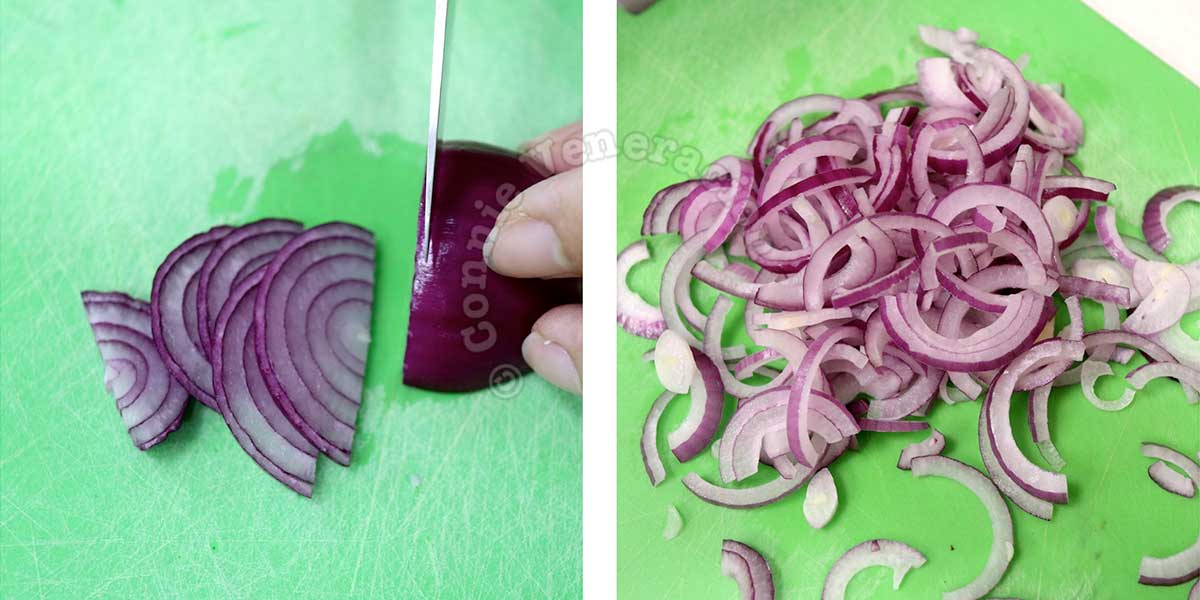
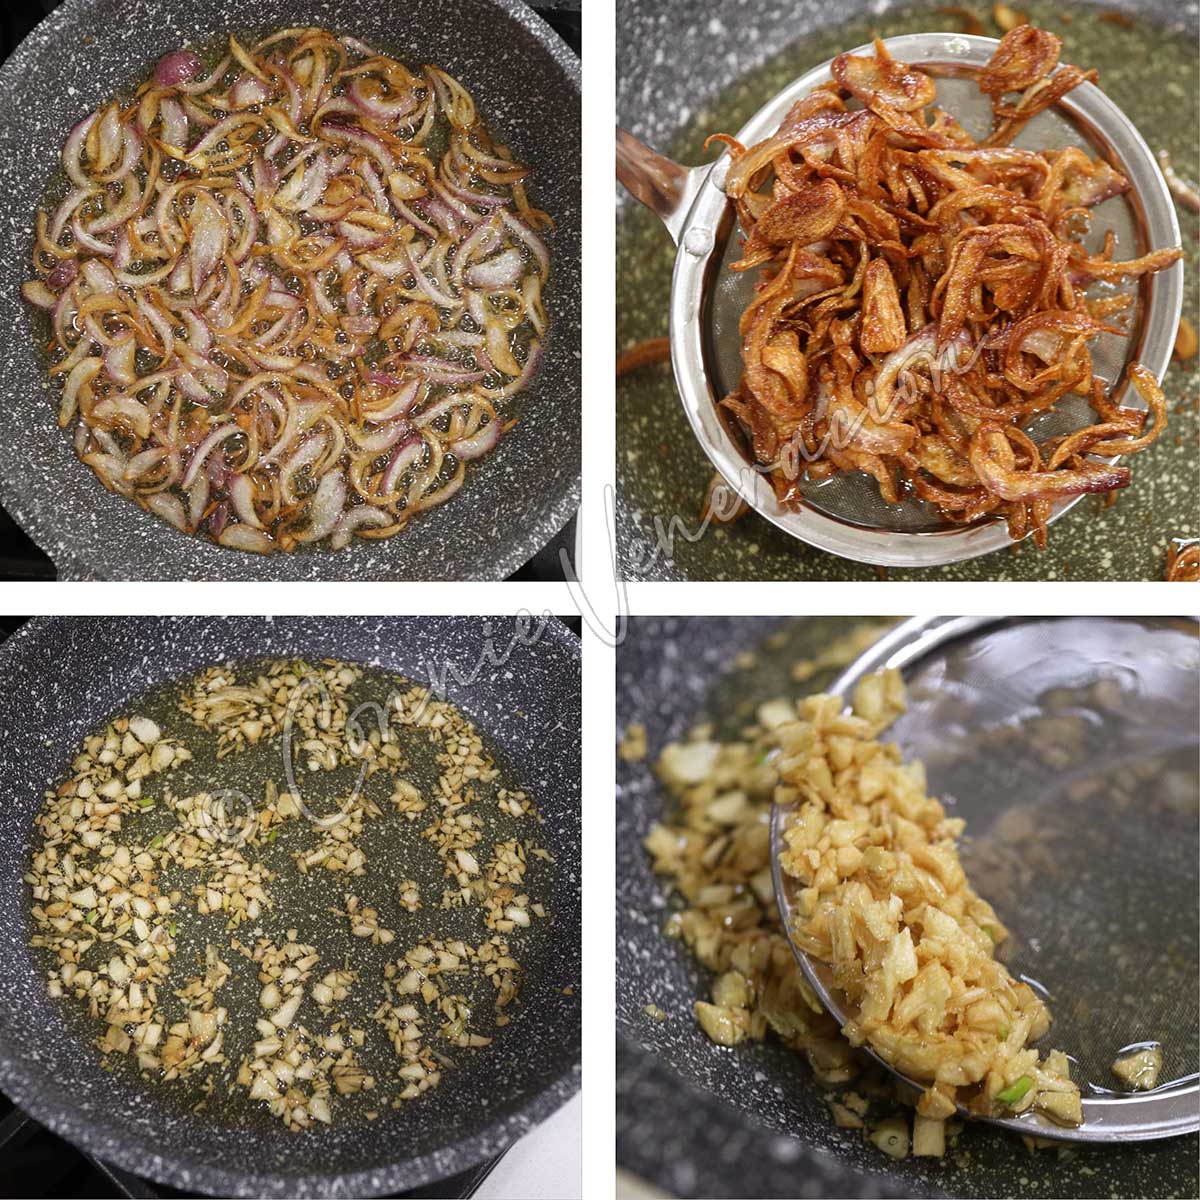
Peel the shallots, cut into halves and slice as thinly as you can. And try to make the slices as uniform as possible. If you want more control, try using a mandolin slicer.
Use a pan just large enough to allow you to spread the sliced shallots in a thin layer.
Pour in just enough oil to reach a depth of about half an inch. Turn on the heat. On LOW. As soon as you turn on your stove, before the oil starts to heat up, immediately spread the shallot slices in the pan.
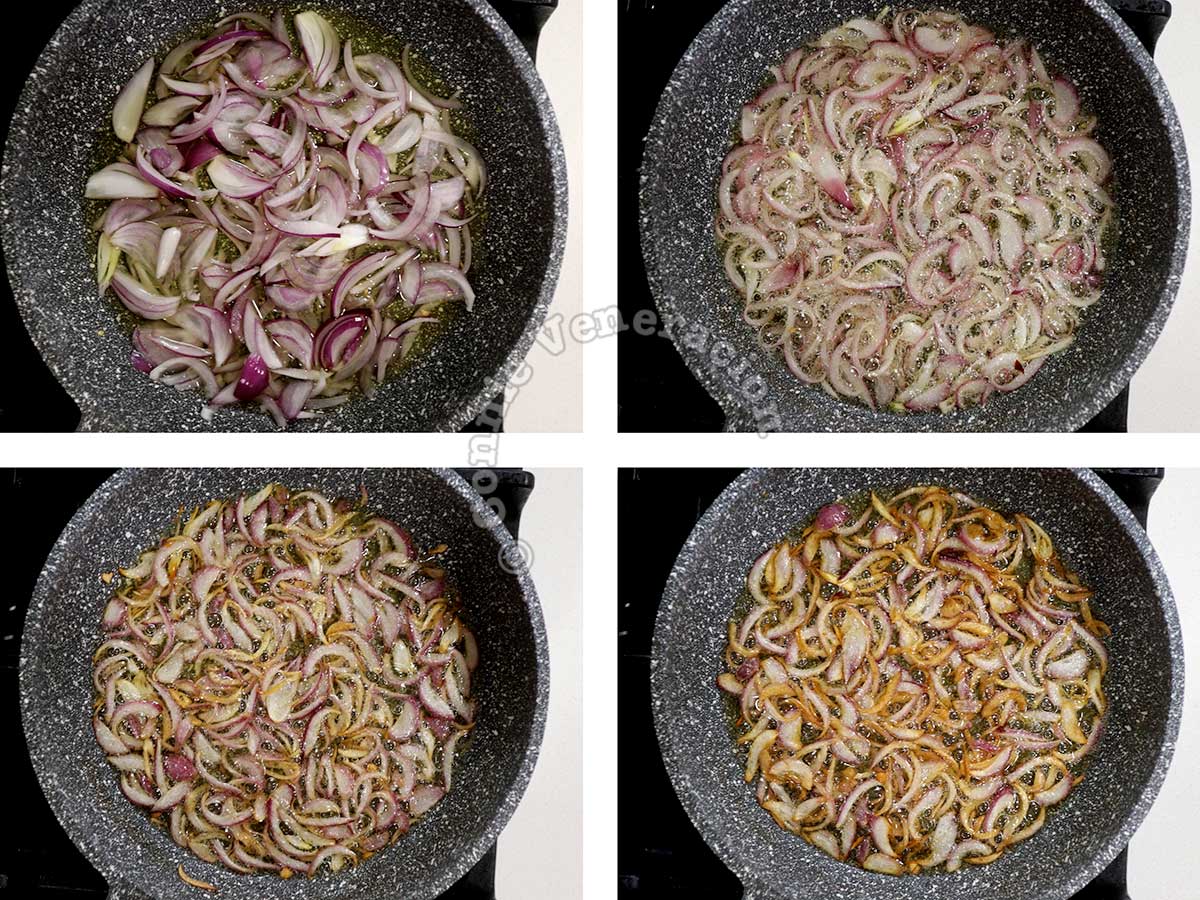
It takes about 15 minutes for the shallot slices to turn golden brown and crisp. You’ll need to stir them occasionally.
My trick is that when most of the shallot slices have turned golden (right bottom photo), I turn off the heat and let them continue cooking in the residual heat for another minute or so, and stirring a few times.
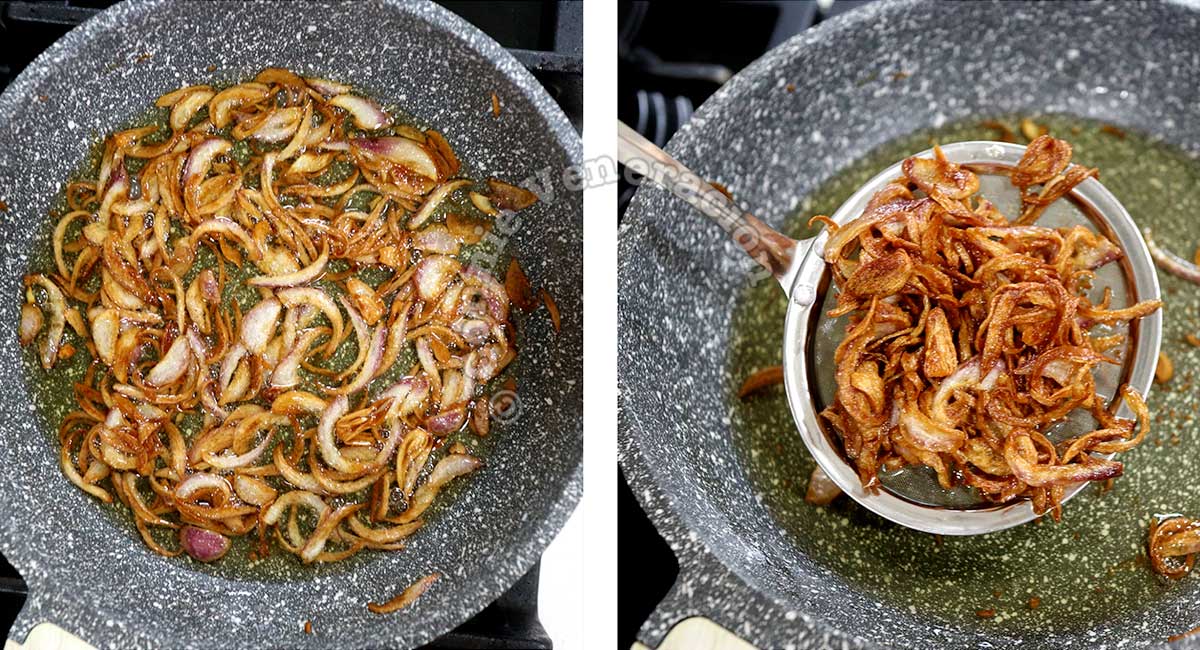
Left photo above: That’s how the shallot slices looked a minute and half after I turned off the heat. Right photo above: The shallot slices darkened some more by the time I scooped them out of the oil.
I spread the crispy fried shallots on a stack of paper towels to remove excess oil and to allow them to cool.
Crispy fried garlic
Cooking crispy garlic is pretty much the same. Start with room temperatue oil in a thick bottomed pan.
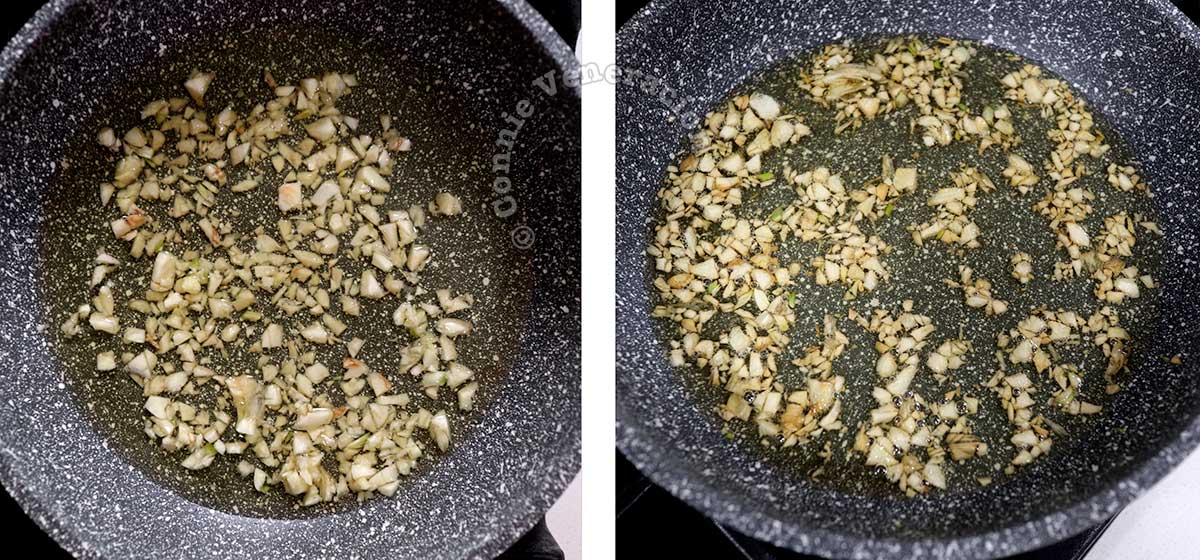
Spread the chopped garlic in the oil. As the oil heats up, the garlic will slowly turn golden and crisp. The frying time is shorter though. Unlike frying shallots, it only takes about eight to nine minutes for the garlic bits to get a good color. I turn off the stove at that point and let the garlic continue to cook in the still-hot oil.
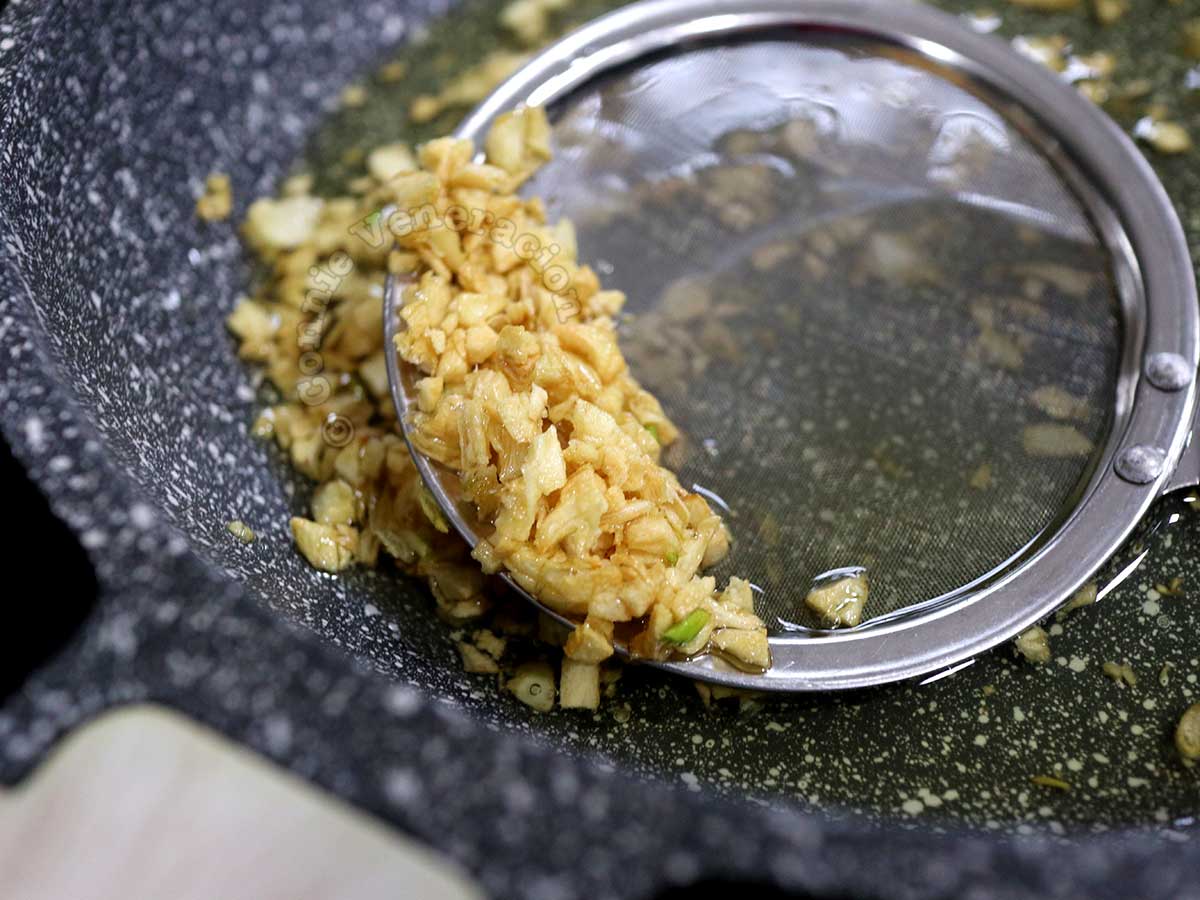
Then, I scoop out the crispy fried garlic, spread the bits on a stack of paper towels and let them cool.
How long can fried shallots and garlic be stored?
If you make more fried shallots and garlic than you will use immediately, yes, you may store them. Here’s how.
- Spread on a stack of paper towels and allow to cool COMPLETELY. This is important so that when you seal them in a container, they will not emit any steam.
- Transfer the cooled shallots / garlic in a jar with a screw-type cap. If you have food grade silica gel, drop a packet into each jar.
- Keep the jars away from the sun.
The crispy fried shallots and garlic should keep for a few days depending on the humidity.
Why only a few days? The shallots and garlic were not dehydrated before they were fried. That means there’s still moisture in them. Moisture hastens spoilage.
What do you with the oil in which the garlic bits were fried?
Cool the oil, pour into a jar, cover and store. Can you imagine how flavorful that oil is? Use it to fry eggs, fried rice, tofu, vegetables, mushrooms… Anything that will soak up flavor.

