It is a bun characterized by the coating of fine bread crumbs. Despite its name (pan de salis Spanish for salt bread), pandesal is sweet. Next to rice, it’s everyone’s favorite breakfast.
For residents of the Philippines, there’s always easy access to pandesal anytime of the day. Even in the dead of night, in fact, as there are bakeries that are open 24 hours a day.
But for many Filipinos who have migrated elsewhere, the craving for pandesal is hard to satisfy because it is not a staple in bakeries abroad. The most logical solution, of course, is to bake pandesal at home.
It’s a daunting project for many but, take it from someone who knew next to nothing about baking until a couple of years ago, it’s not that hard. As with anything else, it takes practice but pandesal is not something delicate like souffle so perfecting the art of pandesal baking can be more easily learned.
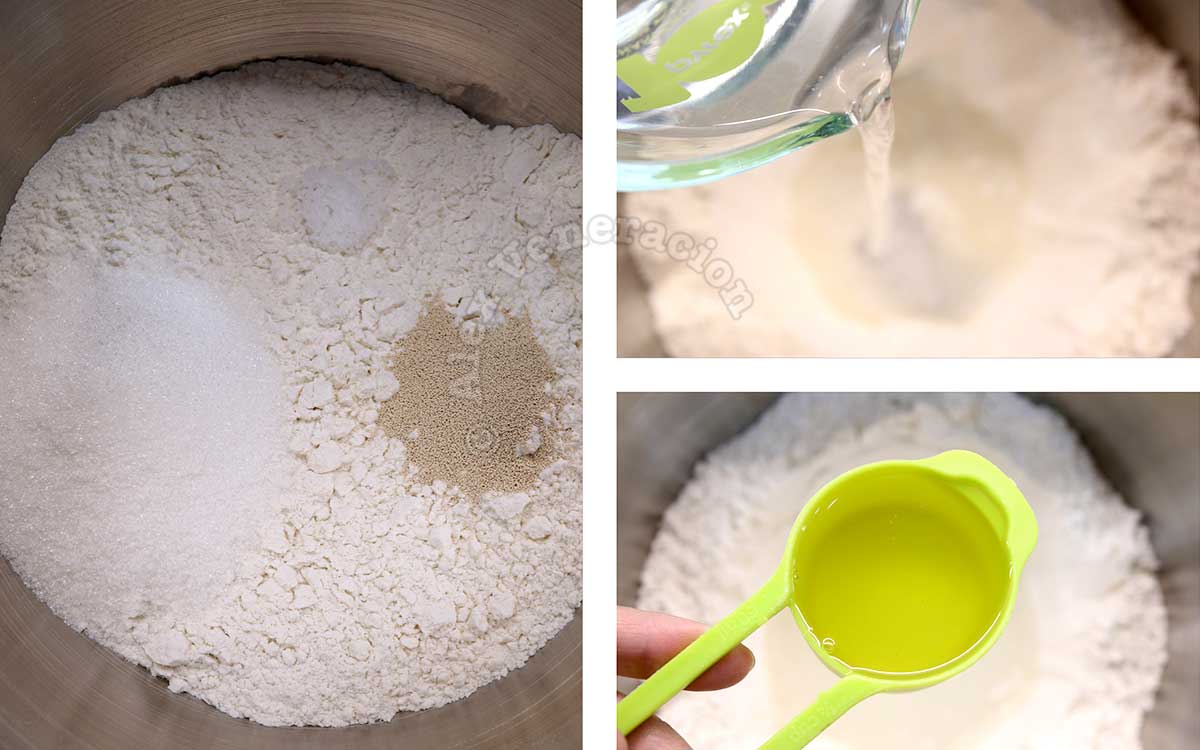
Measure all-purpose flour, salt, sugar, water and cooking oil into the mixing bowl of your stand mixer and whisk.
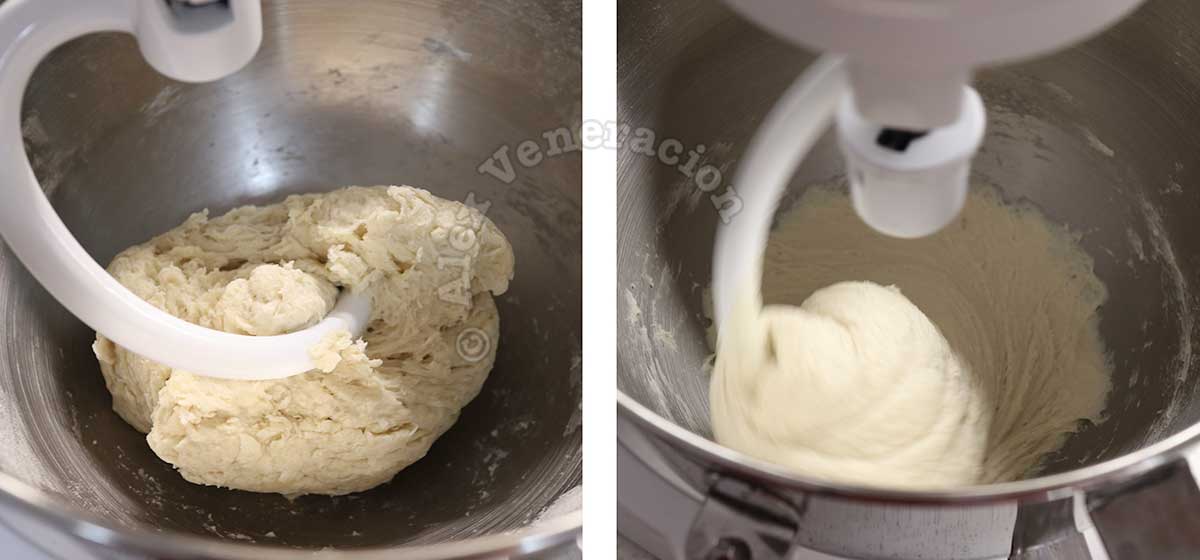
Attach the dough hook of your mixer and mix the dough until it leaves the sides of the bowl and forms into a ball.
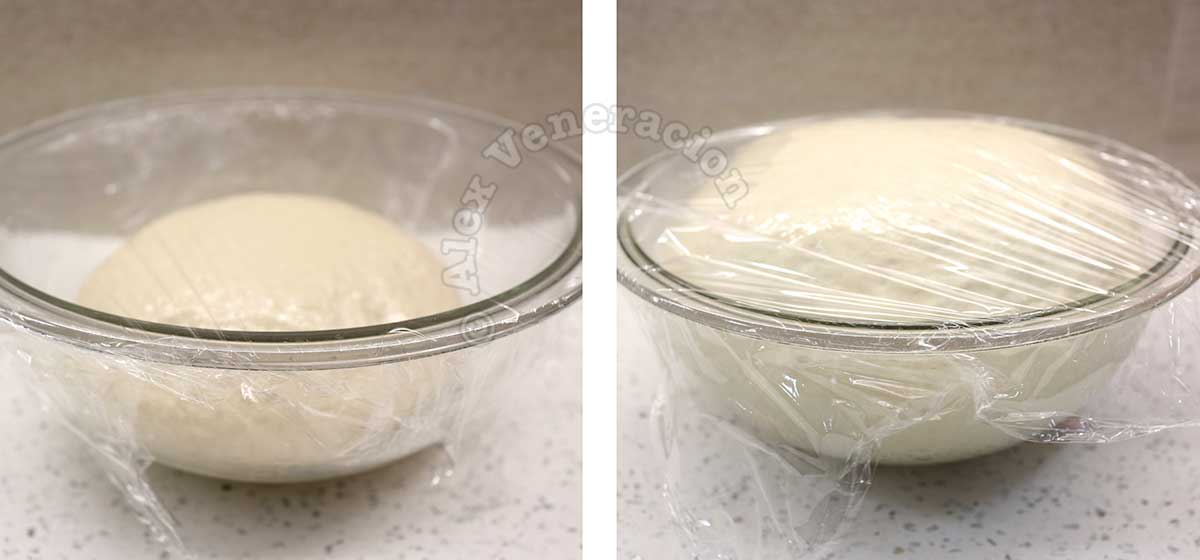
Place the dough in a lightly oiled bowl, cover with cling wrap and leave to rise until double in volume. The exact length of time depends on the room temperature and humidity. It can be as short as 30 minutes or as long as an hour. It is best not to count the minutes but, rather, see how much the dough has risen.
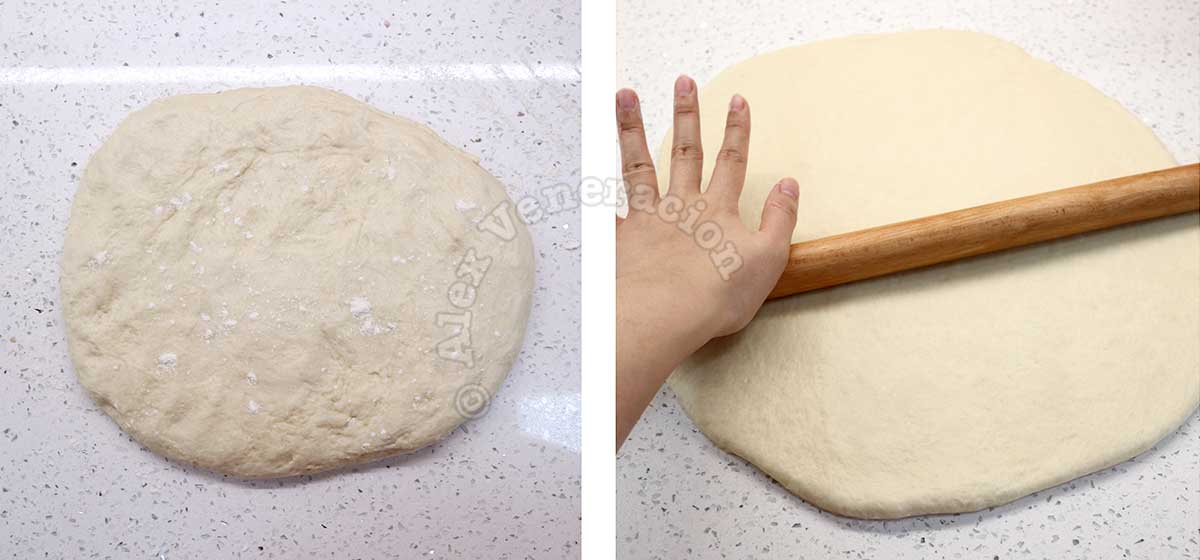
Dump the dough into a floured work surface, flatten and sprinkle the top with more flour. Roll to half an inch thick. If the dough shrinks back as you roll, cover loosely with cling wrap and allow to rest for ten minutes before rolling again.
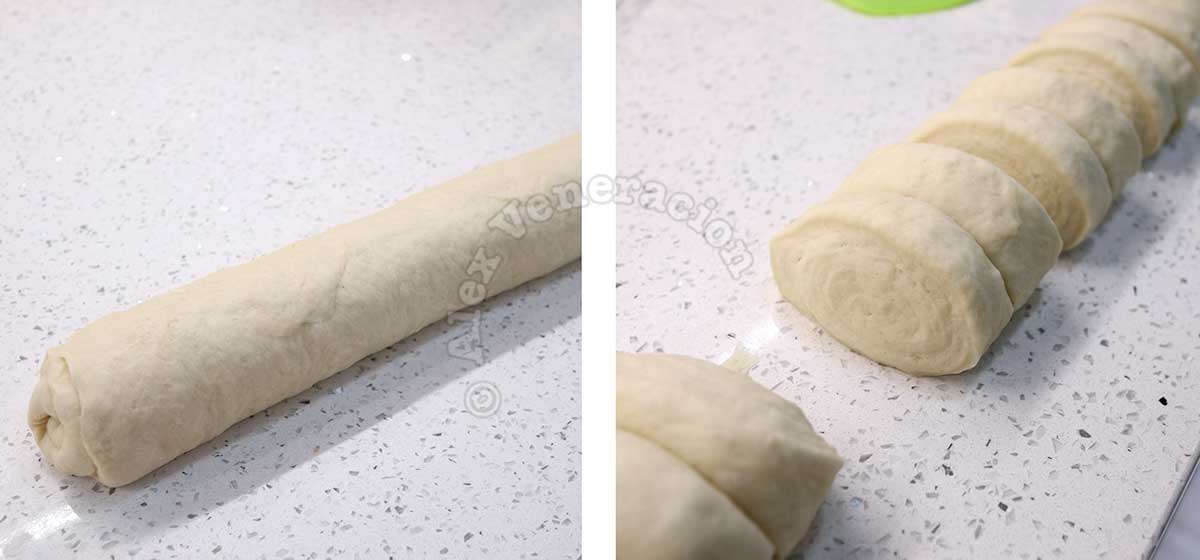
Roll the dough into a log then cut into equal portions. Alternatively, pinch the dough into equal portions and roll each portion into a ball.

Roll each piece of dough in breadcrumbs and arrange on a baking tray and allow to rise a second time. How far apart from each other should they be? An inch apart is okay but, if you want to make sure that the dough does not form peaks at the center, make that two inches apart. The farther the unbaked buns are from one another, the better the chance that they will spread. If they are too close to one another, they have no choice but to expand upward. We don’t mind the peaks but you might, so, I’ve just told you how to avoid them.

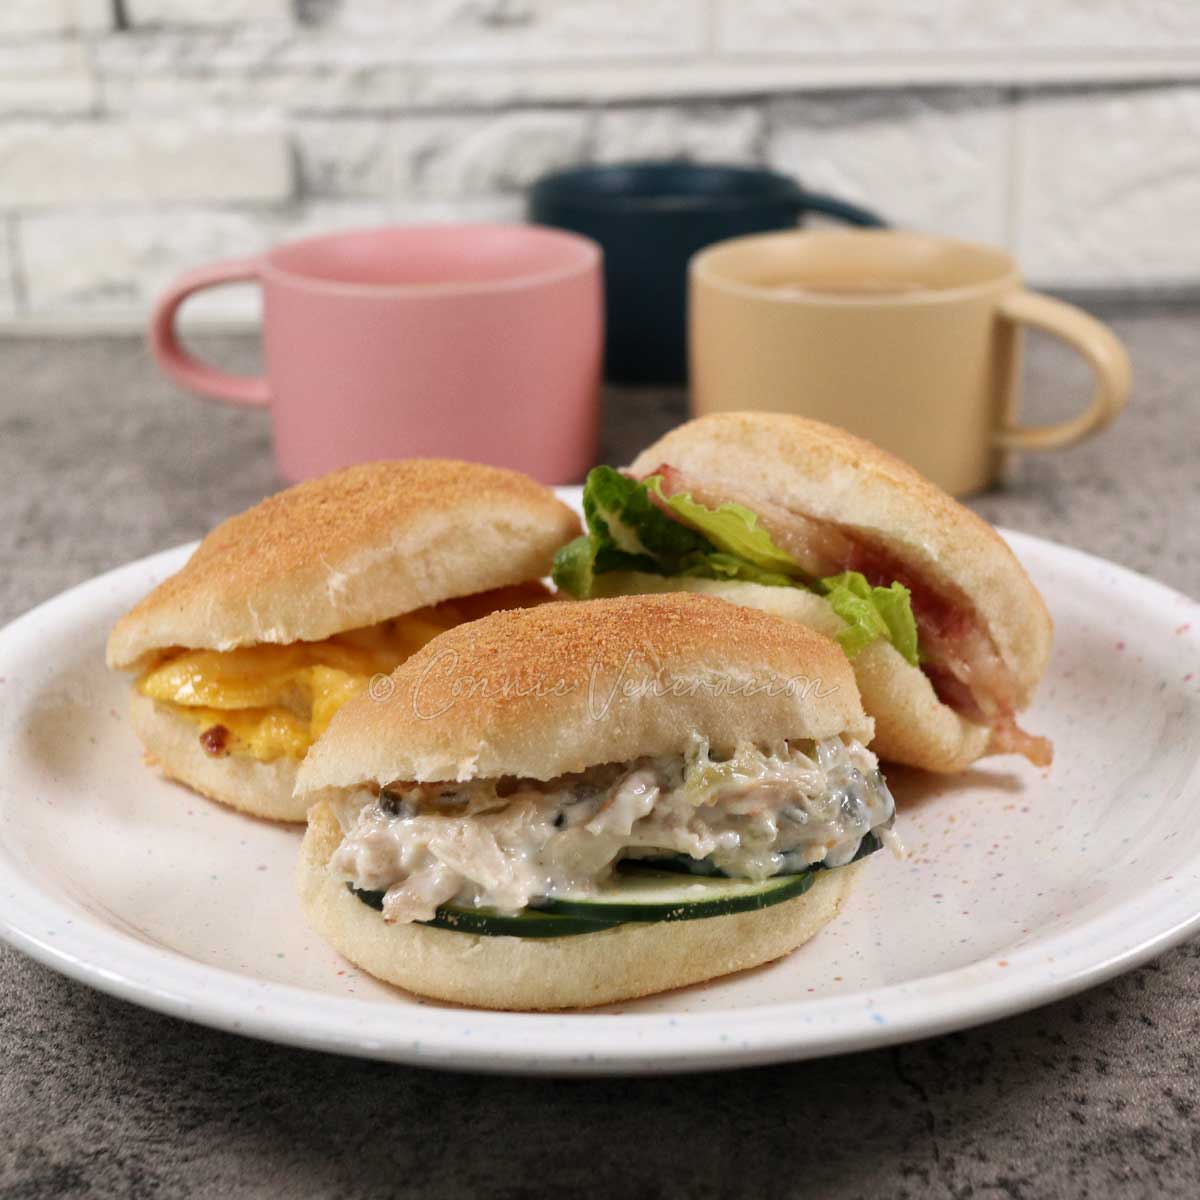
Bake the pandesal and enjoy immediately. That’s when they are at their best. You can enjoy them by themselves or you can split the buns and stuff them with any filling that your heart desires.
Pandesal

Equipment
- stand mixer
Ingredients
- 3 cups all-purpose flour plus more for dusting
- 1 teaspoon salt
- ¼ cup sugar
- 1 teaspoon instant yeast
- 1 cup lukewarm water
- ¼ cup vegetable oil plus more for greasing the bowl
- ¼ cup fine bread crumbs
Instructions
- Whisk the flour, sugar, salt and yeast in the mixer bowl.
- Make a well at the center and pour in the water and oil.
- With the dough hook attached and the speed of your mixer set on LOW, start kneading until the mixture is no longer wet, about one minute.
- Turn up the speed to MEDIUM-LOW (speed #3 on Kitchenaid) and continue kneading until the dough forms into a ball and leaves the sides of the bowl, about ten to 15 minutes.
- Brush the inside of a bowl with oil and dump the dough in it, rolling the dough around to coat the entire surface with oil.
- Cover the bowl with cling film and leave to rise until double in volume, about an hour.
- Preheat the oven to 350F.
- Sprinkle flour on your work surface and dump in the dough. Flatten with your fingers and sprinkle the top with more flour.
- Flatten the dough to half an inch thick and roll into a log.
- Cut the log into 16 equal portions.
- Roll each portion in bread crumbs.
- Arrange the dough, cut side up, at least an inch apart on a baking tray and leave to rise for ten minutes.
- Bake at 350F for 25 to 30 minutes or until nicely browned and lightly crisp.
- Serve your pandesal while hot.