• Skip to main content
  • Skip to header right navigation
  • Skip to site footer
Umami Days

Umami Days

Cooking in a house on a hill

  • Pick a meal
    • One Bowl Meals
    • Breakfast
    • Lunch / Dinner
      • Appetizers
      • Salads
      • Soups
      • Main Courses
      • Side Dishes
      • Sweets
    • Snacks
  • Pick your protein
    • Chicken
    • Meat
    • Seafood
    • Eggs
    • Mushrooms
    • Tofu
    • Vegetables
  • Pick your carb
    • Rice & grains
    • Noodles
    • Bread
  • Notes
    • Kitchen
    • Dining
    • Edible Garden
    • Food Tales
    • Sidebar
  • All recipes
    • By Meal
      • One Bowl Meals
      • Breakfast
      • Lunch / Dinner
        • Appetizers
        • Salads
        • Soups
        • Main Courses
        • Side Dishes
        • Sweets
      • Snacks
    • By Main Protein
      • Chicken
      • Meat
      • Seafood
      • Eggs
      • Mushrooms
      • Tofu
      • Vegetables
    • By Carb
      • Rice & grains
      • Noodles
      • Bread
  • Notes
    • Kitchen
    • Dining
    • Edible Garden
    • Food Tales
    • Sidebar
  • About
  • Privacy
  • Contact
You are here: Home / Kitchen / How-tos / Stages in making bread

Stages in making bread

Bread doesn't happen by magic. From using the correct ingredients in the right proportions to knowing if gluten has properly formed, well... it takes practice.

Home baked white bread

From mixing to baking, bread undergoes several processes. This is what bread dough looks like during the various stages in making bread IF you’re not using an electric mixer.

This is a very general illustration with sugar and oil used in the dough. These two ingredients are not always found in bread dough.

Measuring yeast, sugar, salt and flour for making bread

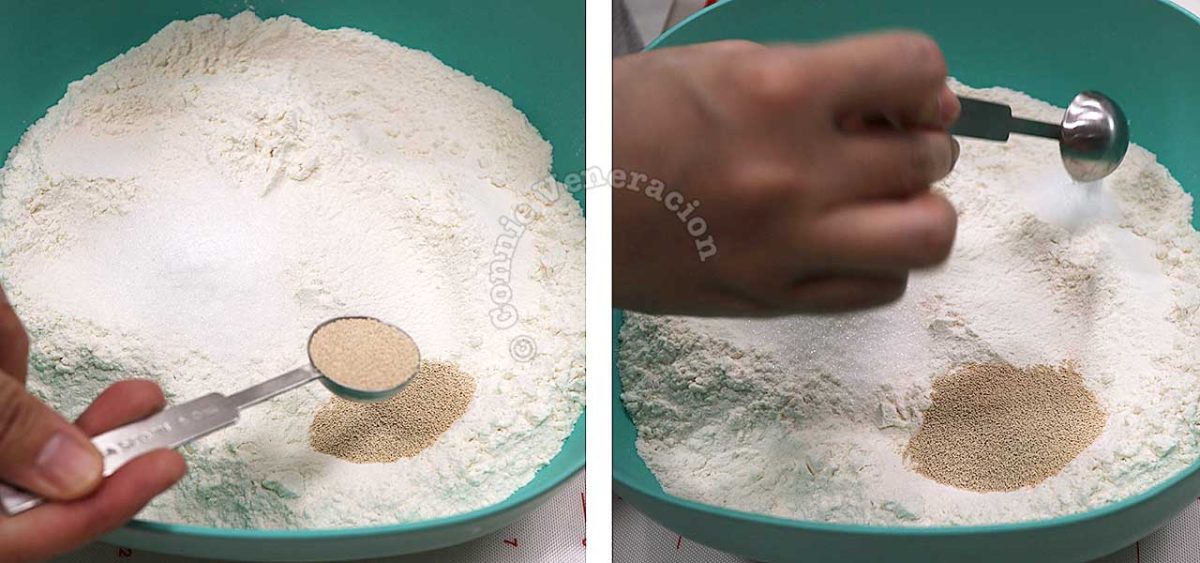
The first step is measuring the ingredients. Start with the flour then add the rest of the dry ingredients: sugar, salt and yeast. While sugar is not an ingredient in every kind of bread, in cases where sugar is required, it is best to add it at the beginning because yeast loves sugar and the dough benefits tremendously from that love affair.

Adding water and oil to dry ingredients for making bread

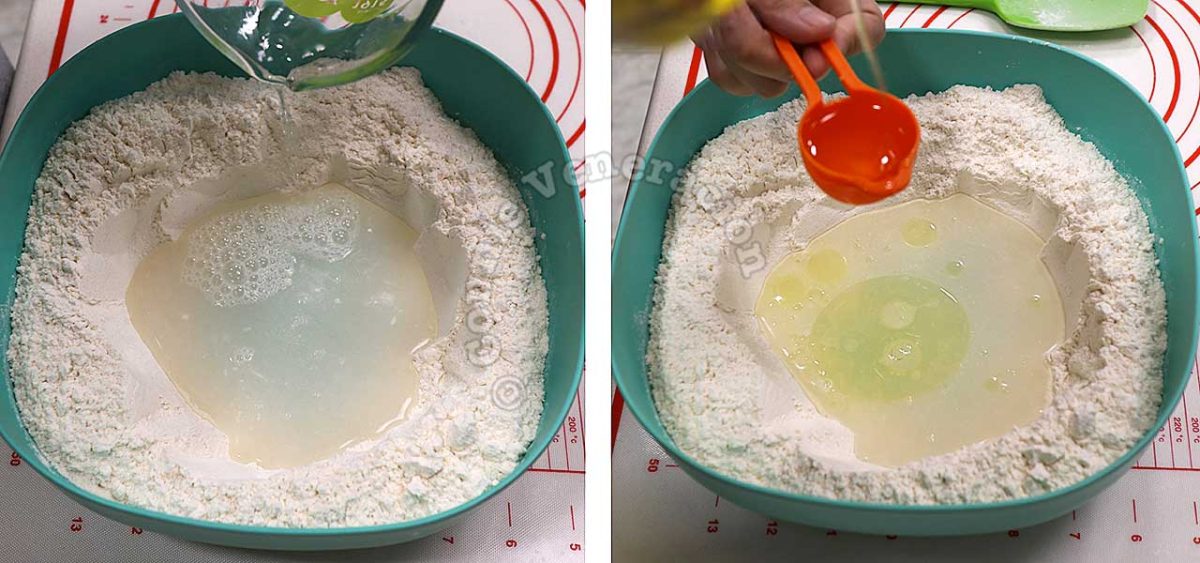
Next come the wet ingredients: water and oil. As mentioned earlier, that some doughs do not require any oil.

Mixing dry and wet ingredients for bread dough

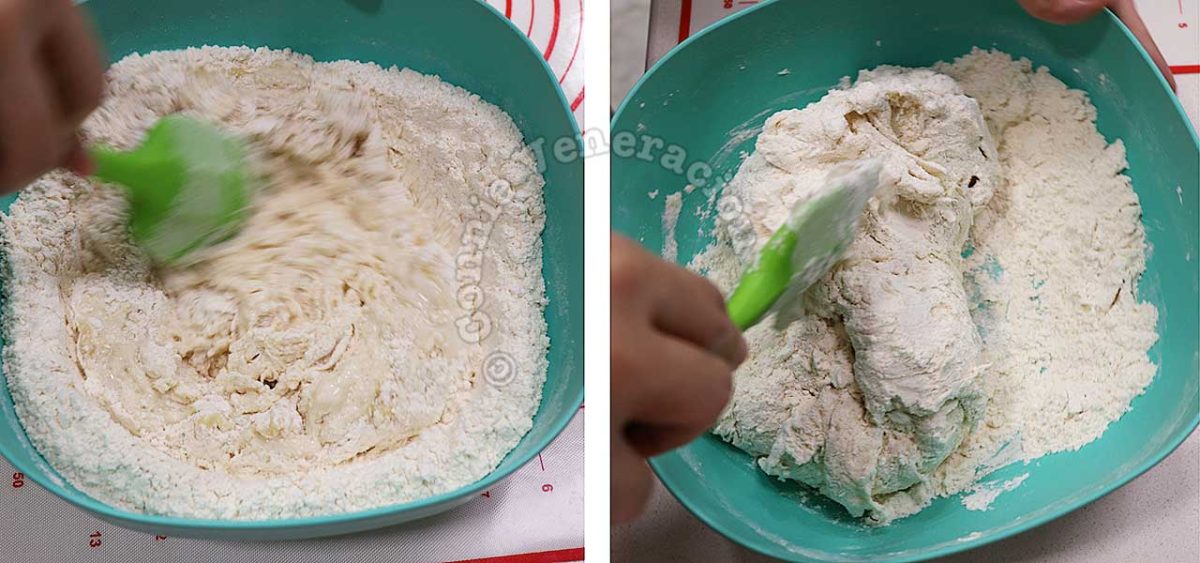
With all the ingredients in the bowl, the next step is to mix them together right in the bowl until the liquids have been absorbed by the flour.

Resting bread dough before kneading

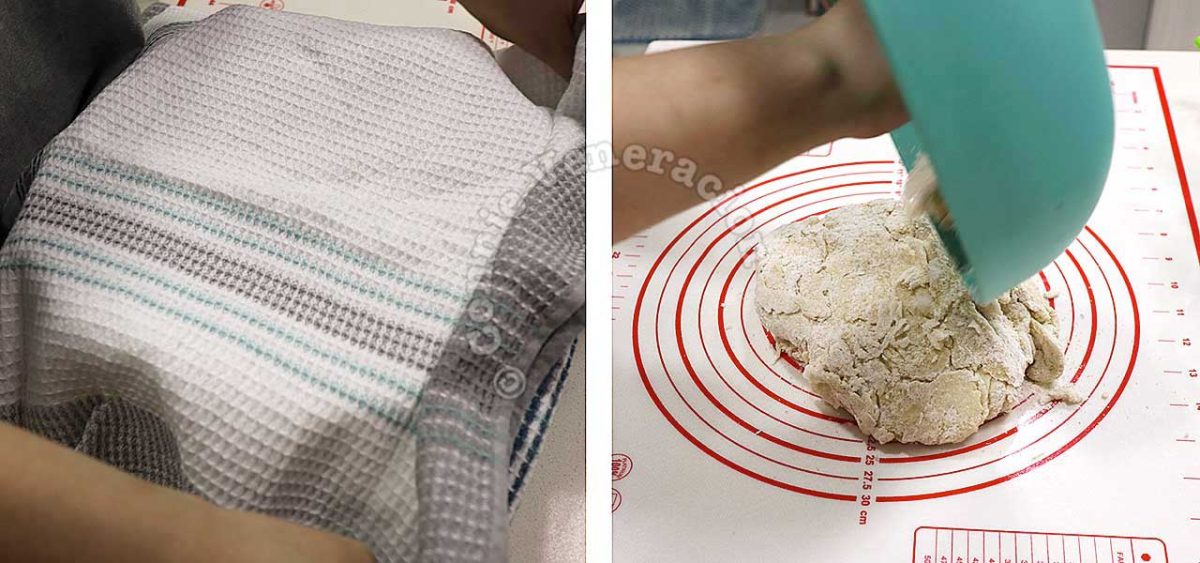
At this stage, the bowl is covered with a damp kitchen towel and allowed to rest before it is dumped on a floured surface where it will undergo kneading. Not every bread baker rests the dough before kneading but it works well for us so we do it.

Kneading bread dough by hand

Now comes the kneading which I can best describe as a push-press-roll process. Push the dough away from you while pressing it with the heel of your hand, roll it back towards you and repeat the process until the dough is smooth. Kneading can take anywhere from ten to 20 minutes.

Bread dough after kneading

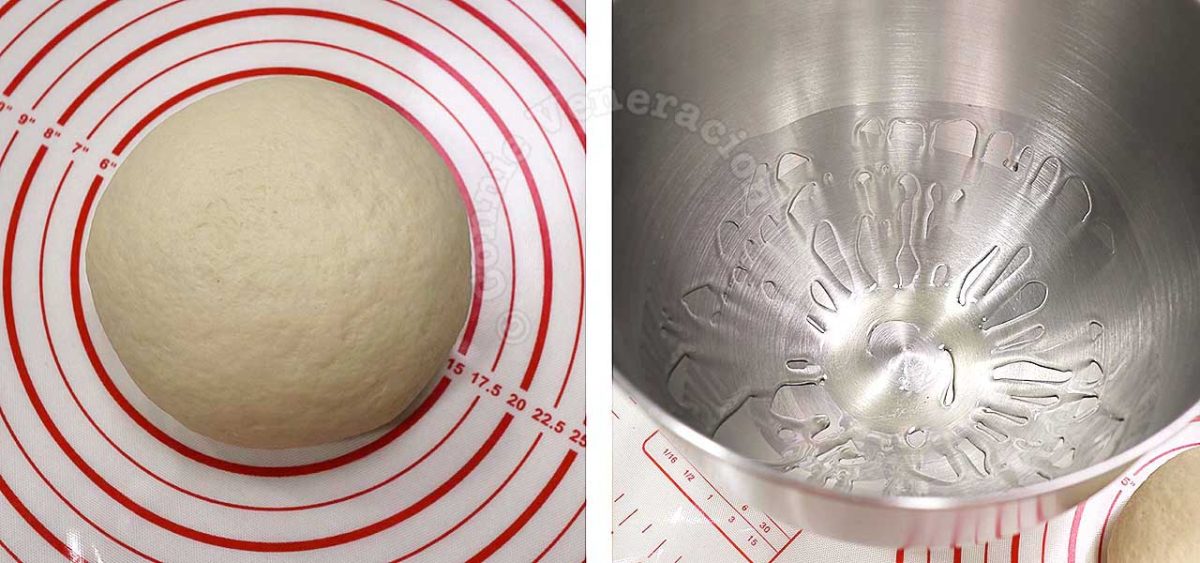
When the dough is smooth, form it into a ball.

Take a clean bowl and coat the bottom and sides with oil.

Bread dough before and after rising

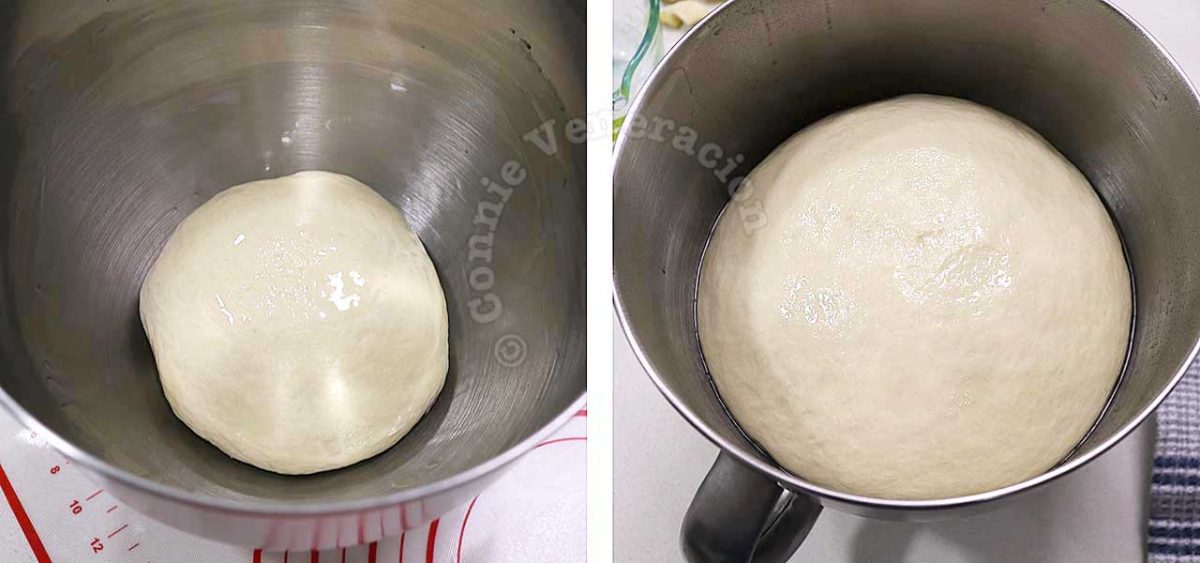
Drop the dough into the bowl and roll it around to coat the surface with oil.

Cover the bowl with a damp kitchen towel, place the bowl in a cool corner of the kitchen away from the sun, and leave the dough to rise until double in volume. How long it takes for the dough to rise depends on the temperature and humidity in your kitchen. Do not count the hours but, rather, peek at the dough to see how much it has risen.

The risen dough is dumped on a floured work surface again. There is no need to punch the dough because once you release it from the bowl, it will naturally deflate.

The dough is now ready to be divided, shaped and left to rise a second time before going into the oven. The dividing, shaping and second rising vary depending on whether you’re making loaves, buns or rolls. That part will be illustrated in individual bread recipes.

Last updated on March 24, 2022 ♥ How-tos, Kitchen

More to enjoy!

Making chicken bone broth in cereamic pot

How to make chicken bone broth

Beef, shiitake and kale noodle soup

Is kale a good addition to Asian noodle soup?

Browning beef cubes in butter

Do we really need to brown meat before braising or stewing?

Chocolate Chip Cookie Dough Brownies Stacked on White Plate

How to slice brownies (and other cookie bars) neatly

Chinese five-spice powder: Anise, Sichuan peppercorns, cloves, star anise and cinnamon bark

What is Chinese five-spice powder?

sea salt

What’s the difference between sea salt and rock salt?

Sidebar

A cook’s diary

Easy tasty risotto for home cooks

My Mac’s dictionary defines risotto as “an Italian dish of rice cooked in stock with other ingredients such as meat and vegetables.” For an Asian, that sounds like throwing everything in a rice cooker until everything is done. But it’s not quite that simple.

Food bowls: Asian versus non-Asian

Food bowls are traditionally Asian. Bibimbap, donburi, gaifan, bun cha — all of which are about harmony of ingredients. Western food bowls are entirely something else.

How to cook rice

Does rice need to be rinsed? Is soaking required? How much water should the rice cook in? The answers to all these and more in this guide to cooking rice, Asian-style.

umamidays.com
  • About
  • Recipes
  • Privacy
  • Contact

Umami Days is powered by Apple, Canon, coffee & one bowl meals · Copyright © 2022 Connie Veneracion · All Rights Reserved